

Masking is one of the most important techniques or skills to learn in Photoshop. In this tutorial, we will explain 10 things you need to know about masking in Photoshop to help you apply interesting and exciting effects to your images. Let’s get started!
1. Gradient Mask for Soft Transitions
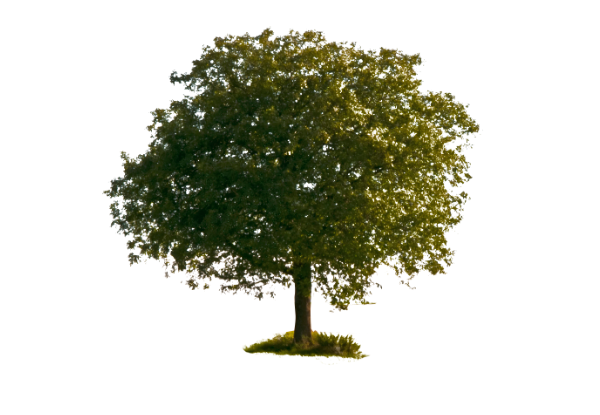
You can use the Gradient Tool on a Pixel Mask to create soft transitions between your masked image and other layers below it. The best thing about gradient masks is that you can very quickly and easily update them using the Gradient Tool.

Gradient Mask for Soft Transitions.
2. Clipping Mask with Text
Clipping Masks are very useful for using the contents of a layer as a mask for another layer. It is particularly helpful when you want to show an image inside a text. All you need to do is to create the text layer and place the image on top of it. When you get to this stage you just need to hold down Alt/Option and click between the two layers in the Layers panel. Once you have created a Clipping Mask you can still edit your text and move the image or the text around freely without breaking the link between the two elements of the mask.

Clipping Mask with Text.
3. Multiple Masks for Greater Control
It is possible to have a Pixel and a Vector Mask on the same layer at the same time, but when is that useful? In some cases you might have to do a selection, which has complicated edges on some parts and clean, sharp edges on other parts. In these cases it is useful to make the most of both mask types on the same layer. Pixel masks are better for fine and complicated details, while Vector masks are better for sharp, clean edges.
Multiple Masks for Greater Control.
4. Vector Masks for Precise Edges
As we mentioned earlier, Vector Masks are the best to use for clean, sharp edges. There are a couple of things good to keep in mind when using the Pen Tool for creating the outlines of a Vector Mask:
- Use the least amount of anchor points possible
- Turn on the Rubber Band feature to see a preview of the next path segment
- Hold down Space while creating a new anchor point to move it freely
- Click on an anchor point while holding down Alt/Option to turn it into a smooth/corner point
- Hold down Command/Ctrl to temporarily access the Direct Selection Tool and move anchor points around
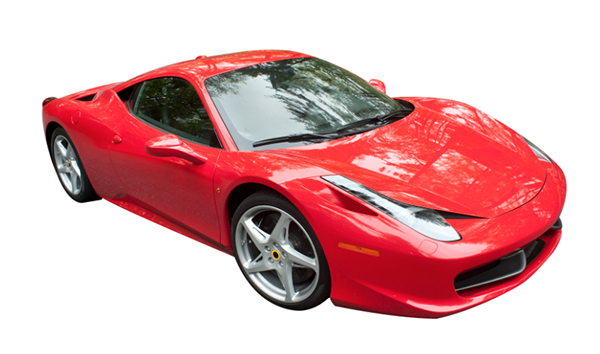
Vector Mask for Precise Edges.
5. Pixel Masks and Custom Brushes
Another advantage of using Pixel Masks is that you can work with Custom Brushes and special Brush Tip Shapes on your mask. There are thousands of free Photoshop brush sets online, which you can easily import into Photoshop.

Special mask created with Custom Brushes.
6. Mask Density and Feathering
Once you created a Pixel or a Vector Mask you can amend their visibility by adjusting the Density slider in the Properties panel, and you can add Feathering to their edges as well completely non-destructively.

Mask Density and Feather.
7. Mask Edge for Edge Refinements
For more complicated selections you can also use the Mask Edge option from the Properties panel to improve the quality of the edges. The most effective combination of values for selecting hair inside the Mask Edge dialog box are the Smart Radius, Shift Edge and Decontaminate Color options.
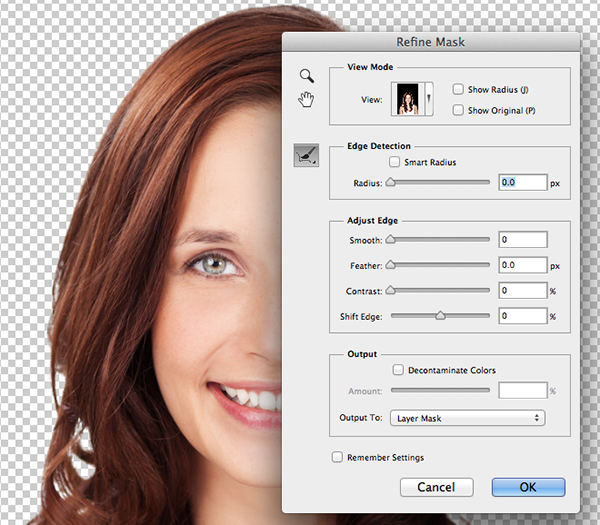
Mask Edge for Edge Refinements.
8. Quick Mask
Quick Mask is a preliminary stage of creating a mask. It can be turned on by pressing Q and once inside Quick Mask view you can use the Brush or the Gradient Tool to create selections. By default selected areas will be shown with their original colors, while deselected parts will have a 50% red overlay on top of them. When you are ready with your selection you can press Q again. Finally you can turn your selection into a Pixel Mask to apply it onto a selected layer.
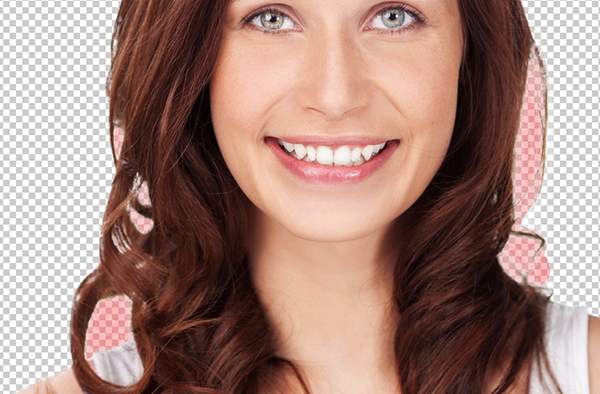
Quick Mask View.
9. Lock Transparency
Lock Transparency is quite similar to using Clipping Masks. When you have transparency on a layer, and you turn Lock Transparency on, you make sure that you keep the contours or silhouette of the layer the same.
Lock Transparency to maintain the contour of a layer with transparency.
10. Keyboard Shortcuts
These are the keyboard shortcuts that you should know whenever you work with masks in Photoshop:
- Alt/Option click on the mask’s thumbnail to enter/exit Mask view
- Shift-click on the mask’s thumbnail to disable/enable it
- Shift+Alt/Option-click on the mask’s thumbnail to enter/exit Quick Mask view based on the mask
- Command/Ctrl-click on the mask’s thumbnail to create a selection based in the mask edges
- Command/Ctrl+Shift-click on the mask’s thumbnail to add to a selection based on the mask edges
- Command/Ctrl+Alt/Option-click on the mask’s thumbnail to subtract from a selection based on the mask edges
- Command/Ctrl+Shift+Alt/Option-click on the mask’s thumbnail to create an intersection with your original selection and a new one based on the mask edges

Mask View accessed by Alt/Option-clicking on the mask’s thumbnail.
Subscribe to our Newsletter!